
VEVOR Kegerator Instructions: A Comprehensive Guide
VEVOR offers diverse kegerator models, alongside essential components like towers and CO2 systems; detailed manuals and support resources are readily available online for users.
Understanding Your VEVOR Kegerator
VEVOR kegerators provide a convenient way to dispense draft beer at home or in a commercial setting. These units combine refrigeration and dispensing into one appliance, ensuring consistently cold and fresh beer. Familiarize yourself with the specific model you’ve purchased, as features vary.
Understanding the components – from the refrigeration unit to the CO2 system – is crucial for optimal performance; Refer to the included manual for detailed diagrams and explanations specific to your VEVOR kegerator model.
Unboxing and Initial Inspection
Carefully unpack your VEVOR kegerator and verify all components are present, referencing the parts list in the manual. Inspect for any shipping damage – dents, scratches, or broken parts. Document any damage with photos immediately and contact VEVOR support.
Ensure the unit is structurally sound and that all included accessories, like the CO2 regulator and beer lines, appear undamaged. Retain all packaging materials until you’ve confirmed everything functions correctly.

Component Identification
Your VEVOR kegerator includes a refrigeration unit, a beer tower, and a complete CO2 system. The tower houses the faucet and connects to the beer lines. The refrigeration unit maintains optimal serving temperatures.
CO2 components consist of a tank, regulator, and gas line. Shelves provide storage, while a drip tray catches spills. Familiarize yourself with each part before assembly, consulting the manual for detailed diagrams and descriptions.
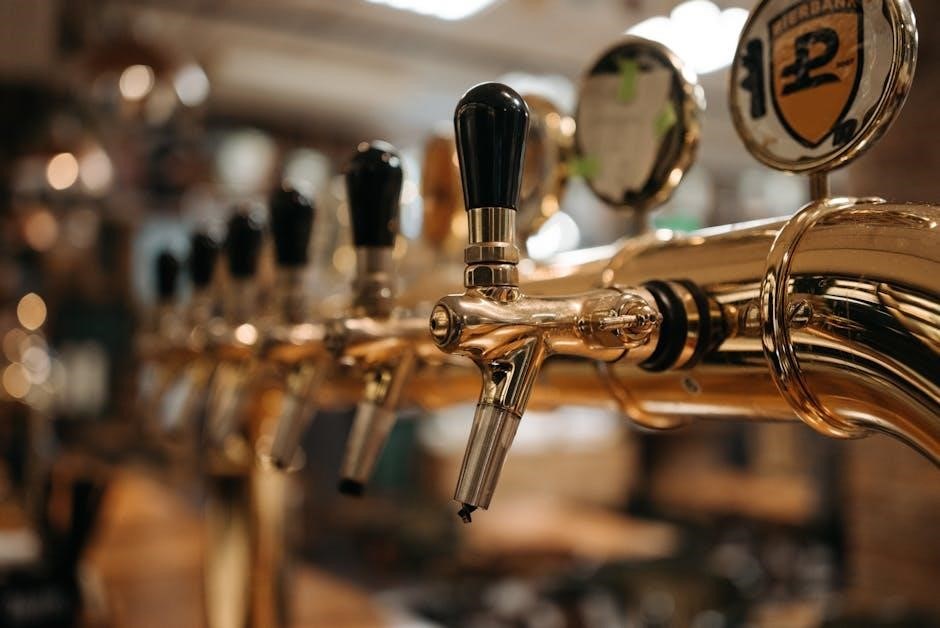
Tower Assembly
The VEVOR kegerator tower typically arrives pre-assembled, but verify all components are securely fastened. This includes the faucet, shank, and any internal gas and beer line connections. Ensure the tower is clean before use.
Carefully attach the tower to the designated opening on the kegerator, using the provided gasket to create an airtight seal. Tighten securely, avoiding over-tightening which could damage the unit or compromise the seal.
Refrigeration Unit
VEVOR kegerators utilize a standard compressor-based refrigeration system. Before initial use, allow the unit to stand upright for at least four hours to allow the refrigerant to settle.
Ensure the unit is plugged into a grounded outlet. The refrigeration unit is designed to maintain temperatures between 32°F and 50°F, adjustable via the control panel. Proper ventilation around the unit is crucial for efficient cooling.
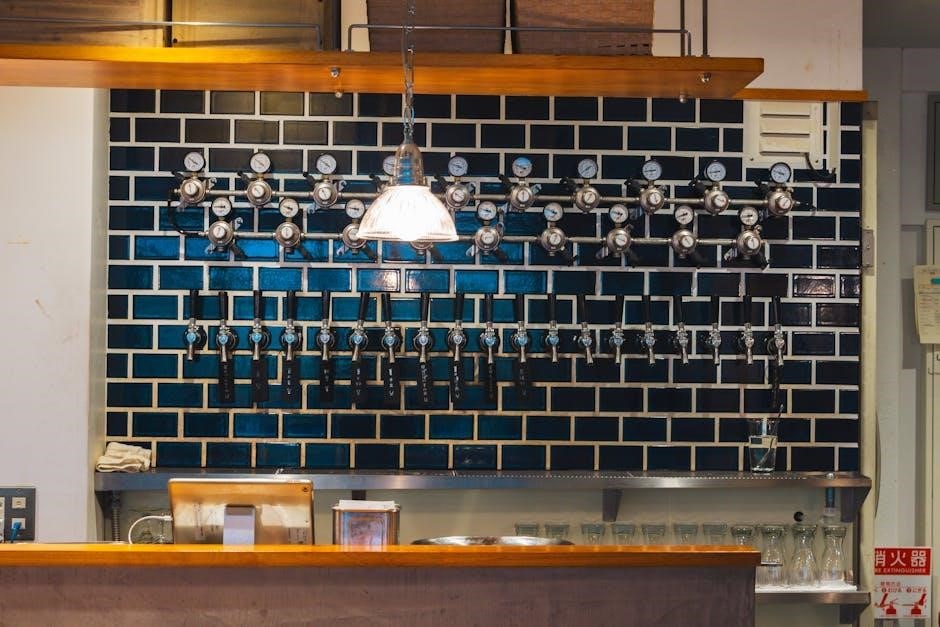
CO2 System Components
VEVOR kegerator kits typically include a CO2 tank, regulator, and gas line; The regulator controls the pressure delivered to the keg, crucial for proper dispensing. A gas line connects the regulator to the keg coupler.
Always handle CO2 tanks with care, securing them upright. Regularly check for leaks using a soapy water solution. Proper CO2 pressure ensures optimal beer carbonation and flow.
Setting Up the Kegerator
Initial setup involves carefully selecting a location for your VEVOR kegerator, ensuring adequate ventilation. Leveling is critical for consistent pouring; adjust the feet until stable. Connect the CO2 tank securely, verifying all connections are tight to prevent leaks.
Before keg installation, allow the unit to cool down for several hours to achieve optimal temperature control and ensure proper operation.
Placement and Leveling
Choose a location with good ventilation, away from direct sunlight and heat sources, for your VEVOR kegerator. Ensure sufficient space around the unit for airflow. Leveling is paramount for smooth pouring and consistent head formation.
Utilize a bubble level to adjust the feet until the kegerator sits perfectly even. An unleveled unit can cause inconsistent pressure and pouring issues, impacting beer quality.
Connecting the CO2 Tank
Carefully attach the CO2 tank to the regulator, ensuring a tight connection to prevent leaks. Use a proper wrench and avoid over-tightening. The regulator controls the pressure delivered to the keg.
Connect the gas line from the regulator to the keg coupler. Slowly open the CO2 tank valve and adjust the regulator to the recommended pressure (typically 10-12 PSI) for your beer style. Monitor for leaks using soapy water.
Installing the Keg
VEVOR kegerators accommodate various keg sizes, ensuring compatibility is crucial. Before installation, lightly sanitize the keg and coupler. Carefully slide the keg into the kegerator, ensuring it sits securely on the base.
Attach the keg coupler to the keg, firmly pushing it until it clicks into place. Verify a secure connection to prevent CO2 leakage. Ensure the coupler is properly aligned before applying pressure.
Keg Compatibility
VEVOR kegerators generally support full-size (1/2 barrel), sixth-barrel, and quarter-barrel kegs. Confirm your specific model’s capacity in the user manual. Adapters may be needed for European-style (Euro) kegs, which utilize different coupler types.
Always check the keg’s dimensions against the kegerator’s interior space. Proper fit ensures efficient cooling and easy handling. Incorrectly sized kegs can compromise performance.
Connecting the Keg Coupler
Ensure the keg coupler is clean and the correct type for your keg (e.g., Sanke D for American domestic kegs, or Euro for European). Gently push the coupler onto the keg’s valve, ensuring a secure, airtight connection.
Hand-tighten the coupler; avoid using tools, as over-tightening can damage it. Once connected, slowly open the CO2 valve to pressurize the keg, monitoring for leaks around the coupler.
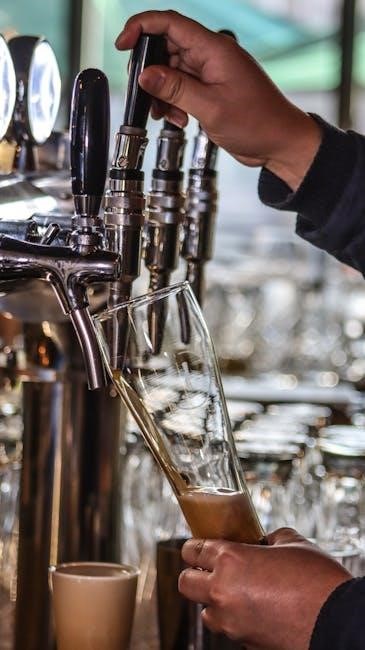
Dispensing System Setup
Proper setup ensures optimal beer flow and quality. Begin by carefully attaching the beer lines to both the keg coupler and the faucet, using appropriate fittings for a secure seal.
Ensure lines are the correct length to avoid kinks or excessive slack. Finally, install the faucet securely into the beer tower, verifying a tight fit to prevent leaks during dispensing.
Attaching Beer Lines
Begin by selecting the correct diameter beer line – typically 3/8” ID for standard setups. Securely attach one end of the beer line to the keg coupler barb, utilizing a hose clamp for a tight seal.
Next, connect the other end to the faucet shank, again ensuring a secure fit with a clamp. Avoid twisting the lines during attachment to prevent damage and maintain optimal flow.
Installing the Faucet
Begin by inserting the faucet shank through the designated hole in the beer tower. Secure it tightly with the provided mounting nut, ensuring a leak-proof seal.
Connect the beer line (previously attached) to the faucet’s inlet barb, again using a hose clamp. Verify a snug fit to prevent CO2 loss and maintain proper beer dispensing pressure.
Temperature Control
VEVOR kegerators feature precise temperature control, crucial for optimal beer flavor. Utilize the digital display to adjust settings between 32°F and 50°F.
Different beer styles require specific temperatures; lagers benefit from colder settings (38-42°F), while ales thrive around 45-50°F. Consistent temperature is key – avoid frequent adjustments for best results and flavor preservation.
Adjusting the Thermostat
VEVOR kegerator thermostats are digitally controlled for accuracy. Access the control panel and use the up/down arrows to set your desired temperature.
Allow several hours for the unit to reach the new setting. Monitor the digital display to confirm stabilization. Avoid drastic temperature changes, as this can affect beer quality. Refer to the manual for specific thermostat functions and alarm settings.
Optimal Temperature Settings for Different Beer Types
VEVOR kegerators offer a wide temperature range, typically 32°F to 50°F. Lagers and Pilsners benefit from colder temperatures (32-38°F) for crispness.
Ales, including IPAs and Pale Ales, are best served slightly warmer (38-45°F) to highlight their flavors. Stouts and Porters can be enjoyed at 45-50°F. Experiment to find your preference, but avoid exceeding recommended ranges to preserve beer quality.
Cleaning and Maintenance
Regular cleaning is crucial for a sanitary VEVOR kegerator. Daily rinsing of beer lines and the faucet with hot water prevents buildup.
Periodic disassembly (every 1-2 weeks) allows for thorough cleaning of all components with a kegerator cleaning solution. Don’t forget the drip tray and interior surfaces! Proper maintenance ensures optimal performance and prevents off-flavors, extending the life of your system.
Daily Cleaning Procedures
After each use, run a few pints of hot water through the beer lines to flush out residual beer and prevent buildup.

Wipe down the faucet and drip tray with a clean, damp cloth. A quick daily wipe-down of the exterior surfaces keeps your VEVOR kegerator looking its best. These simple steps minimize cleaning effort and maintain beer quality.
Regular Disassembly and Deep Cleaning
Every month, disassemble the faucet, beer lines, and coupler for a thorough cleaning. Soak these components in a keg cleaning solution, then rinse completely with potable water.
Inspect O-rings and replace if damaged. Sanitize all parts before reassembly. A deep clean prevents mold, bacteria, and off-flavors, ensuring consistently fresh and enjoyable beer from your VEVOR kegerator.
Troubleshooting Common Issues
If no beer flows, check the CO2 tank pressure, coupler connection, and beer line for kinks or blockages. Foamy beer often indicates excessive CO2 pressure; reduce it gradually.
Ensure proper temperature settings and a clean dispensing system. A faulty coupler or regulator can also cause issues. Refer to the VEVOR manual for specific troubleshooting steps and contact support if problems persist.

No Beer Flowing
When experiencing no beer flow, first verify the CO2 tank is open and has sufficient pressure. Inspect the keg coupler to ensure it’s securely connected to both the keg and the kegerator.
Check beer lines for any kinks, bends, or obstructions that might restrict flow. A clogged faucet can also be the culprit. Consult your VEVOR manual for diagrams and further assistance in diagnosing the issue.
Foamy Beer
Excessive foam often indicates too much CO2 pressure. Slowly reduce the pressure regulator on the CO2 tank in small increments, allowing time to observe the beer flow after each adjustment.
Ensure beer lines are the correct length and diameter, as excessively long or narrow lines can cause foaming. Check the keg coupler for proper sealing. Refer to your VEVOR kegerator’s manual for optimal pressure settings.
Safety Precautions
CO2 tanks contain high-pressure gas; secure them upright with a proper regulator and safety strap to prevent accidental falls or damage. Never attempt to repair or modify the tank yourself.
Ensure the kegerator is plugged into a grounded electrical outlet; Avoid overloading the circuit. Regularly inspect the power cord for damage. Disconnect the unit before cleaning or performing maintenance. Always follow local electrical codes.
CO2 Safety Guidelines
CO2 tanks are pressurized and require careful handling; always secure the tank upright using a safety strap to prevent tipping. Use only a compatible regulator designed for CO2. Never lubricate CO2 regulators with oil or grease, as this can cause dangerous reactions.

Ventilate the area adequately. If a leak is detected, immediately shut off the CO2 supply and evacuate the space. Seek professional assistance for any CO2 system repairs.
Electrical Safety
Ensure the kegerator is plugged into a grounded outlet with the correct voltage. Avoid using extension cords if possible; if necessary, use a heavy-duty extension cord rated for the appliance’s power requirements. Never operate the kegerator with a damaged power cord or plug.
Do not expose the electrical components to water or moisture. Disconnect the kegerator from the power source before cleaning or performing any maintenance.
Understanding the Control Panel
VEVOR kegerator control panels typically feature a digital display for precise temperature management. Users can adjust settings to achieve optimal chilling for various beer types. Many models include functions for setting temperature alarms, alerting you to deviations from the desired range.
Familiarize yourself with the panel’s buttons for power, temperature adjustment, and alarm settings to ensure consistent performance.
Digital Display Functions
The VEVOR kegerator’s digital display showcases the current internal temperature, allowing for easy monitoring. Buttons enable users to switch between Celsius and Fahrenheit scales. Some models display set points, indicating the desired temperature. Error codes may appear, signaling potential issues requiring attention.
Understanding these functions is crucial for maintaining optimal beer storage and dispensing conditions.
Setting Temperature Alarms
VEVOR kegerators with digital displays often feature temperature alarm settings. These alarms alert users if the internal temperature deviates from the desired range, protecting beer quality. To set an alarm, navigate the control panel and input your preferred high and low temperature limits.
Prompt response to alarms prevents spoilage and ensures consistently chilled beverages.
Advanced Features (If Applicable)
Some VEVOR kegerator models boast advanced features enhancing performance and convenience. These may include a built-in fan for consistent temperature distribution throughout the cabinet, preventing warm spots. Additionally, certain units offer an automatic defrost cycle, minimizing ice buildup and reducing maintenance needs.
These features optimize beer storage and simplify operation;
Built-in Fan Control
VEVOR kegerators equipped with a built-in fan offer enhanced temperature consistency. This fan actively circulates air within the unit, preventing temperature stratification – the formation of warmer areas at the top. Consistent cooling ensures optimal beer preservation and a perfectly chilled pour every time.
Fan speed may be adjustable on some models.
Automatic Defrost Cycle
VEVOR kegerators featuring an automatic defrost cycle simplify maintenance by preventing ice buildup on the evaporator coils. This cycle periodically melts any accumulated frost, ensuring efficient cooling performance and eliminating the need for manual defrosting. This feature contributes to consistent temperature regulation and extends the lifespan of the refrigeration unit.
Check your model’s manual for cycle details.
Warranty Information and Support
VEVOR provides warranty coverage for its kegerators, protecting against manufacturing defects. Specific warranty terms—duration and coverage details—vary by model; consult your purchase documentation for precise information. VEVOR offers customer support through its website, including FAQs, manuals, and contact options for assistance.
Promptly register your product for efficient service.
Frequently Asked Questions (FAQ)
Q: What keg sizes are compatible? A: VEVOR kegerators typically accommodate full-size (1/2 barrel), quarter-barrel, and sixth-barrel kegs. Q: How often should I clean the lines? A: Regular cleaning—every two weeks—prevents buildup and ensures fresh taste.
Q: Where can I find replacement parts? A: VEVOR’s website offers a range of parts and accessories.
Resources and Additional Help
VEVOR’s website ([https://www.vevor.com/](https://www.vevor.com/)) provides comprehensive manuals for various models (AP-2401, BM-162, etc.). Online forums and communities dedicated to homebrewing and kegerators offer valuable troubleshooting tips and user experiences.
For direct support, contact VEVOR’s customer service; remember experiences vary, so thorough research is advised before purchase.